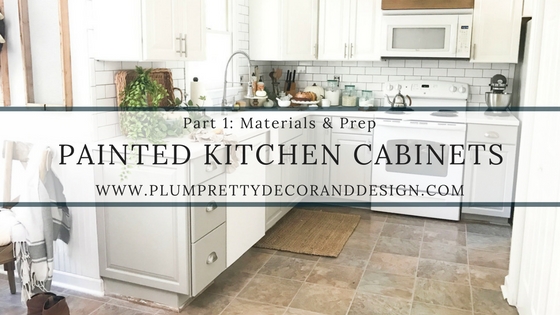

Painted Kitchen Cabinets PART 2. If you missed part 1 you can catch up by CLICKING HERE. That is where you will find all the material and prep information. But before we get to spraying, let me tell y'all why this is a "budget friendly" makeover. As mentioned before I never loved the color of our cabinets and I wanted them painted since day 1. I actually had my painter quote doing them for me.... and it was going to be $4k. Yeah that didn't sound very budget friendly to me. So I decided to go the DIY route. However, I did not want a DIY look. I wanted my cabinets to look like factory finished cabinets. And although the process I'm getting ready to tell you may seem extensive and maybe even a little over kill- my cabinets look factory finished.
I decided on two-toned cabinets. Meaning the top and bottom cabinets are different colors. Only adding another step to my LONG process, because I had to switch paint colors and rinse/clean the sprayer between colors and coats. I recommend painting test swatches when picking your colors. A single paint color can look completely different in each room of your house. It all has to do with the surrounding environment and lighting. So I painted my test swatches on a spare door (and walls) and let it sit in my kitchen for a few days. Watching the colors as the lighting conditions changed. Because the last thing you want to do is repaint your cabinets because the color looks a little wonky at night.
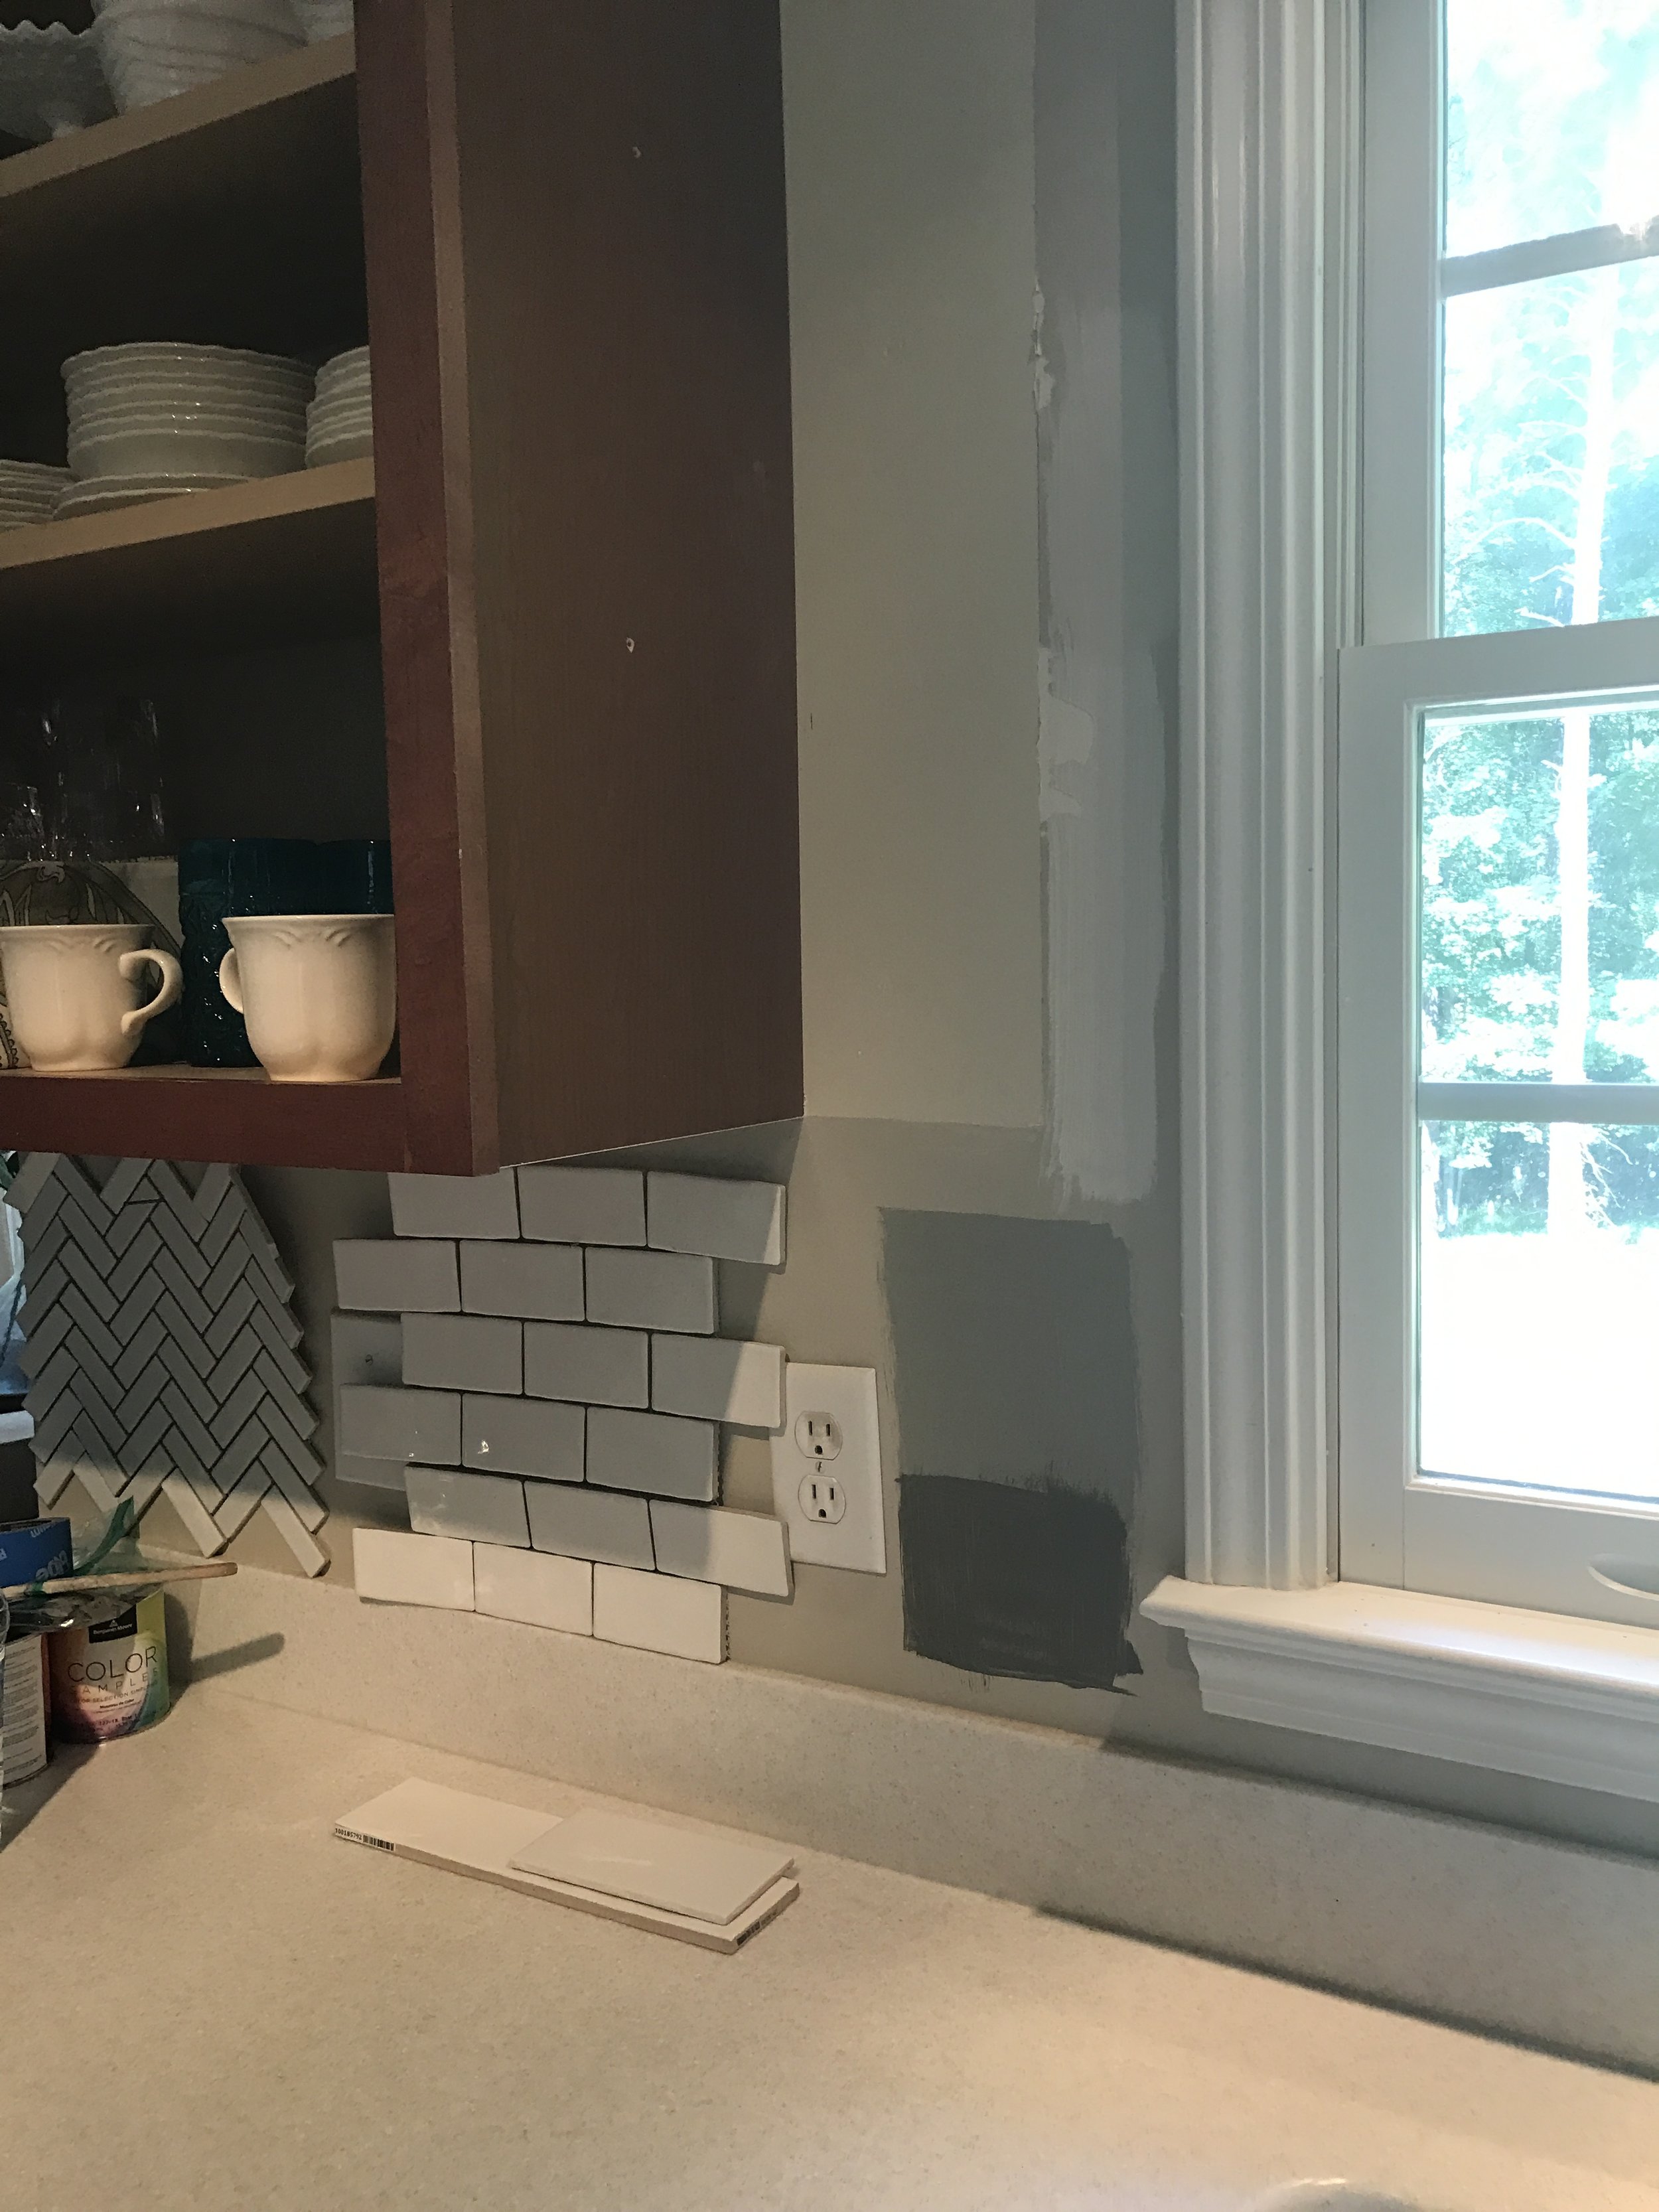

Here's the colors I went with:
- Top White Color: Benjamin Moore White Dove (Left color on cabinet door in pic)
- Bottom Grey Color: Benjamin Moore Fieldstone (Right color on cabinet door in pic)
- Color I decided was too dark: Chelsea Grey (Middle color on cabinet door in pic)
The Process:
*Always read the recommendation on the paint cans. Paint requires certain humidities and temperatures for optimal performance.*
*Always wear a paint respirator while spraying*
Spraying Advise:
You want to hold the sprayer about 10-12 inches from the surface. Keeping a stiff wrist, you want to swipe across the entire surface. You must pass beyond the end of the door/drawers edge. Meaning do not stop anywhere on the surface. You always want to be moving while spraying. Stopping the motion of the sprayer or swinging into a new stroke pattern, while the gun is spraying paint, will result in heavy spray build-up at the edges of the stroke. The key is to lightly cover with each coat. Don't worry if there is a thin area- you can cover it with the next coat. Thick heavy coats will not properly cure or dry.
Spraying too thick of coats on your bases will result in the paint running down- because you are spraying a vertical surface. Keep the coats thin and light.
Keep the end of your sprayer clean. Paint may begin to build up here. I kept a damp cloth and wiped it ever so often.
1. Spraying your primer: TWO COATS
After prepping the cabinets like I mention in PART 1- CLICK HERE, I sprayed my primer. I did have to thin the primer I used by 10%. The STIX primer is super thick and to get a nice smooth finish I had to thin. I practiced on my extra cabinet door until I got the perfect finish for the primer- adjusting the knob and the % I watered it down. I found that 10% gave me the perfect finish. The primer is a very important coat to get smooth, because it is the base for your other layers. You want it to feel ultra smooth when you run your hand across it- once its dry of course. You don't want it to feel bumpy or sandy.
I sprayed the backs of all my cabinets doors/drawers and my entire bases. *Always start by painting the backs*. I let the first coat of primer dry for about 6 hours before I recoated everything. I let the second coat on the back side of the doors/drawers dry for 24 hrs. I flipped over the doors/drawers to the fronts. The bases were done priming at this point because they already had two coats. So after flipping, I sprayed the fronts, let dry for 6 hours, then sprayed the second and final coat of primer. I let the doors/drawers sit for another 24 hrs before I began spraying the first coat of paint.

*Always clean and wash your sprayer between coats. My rule of thumb is don't leave it with paint inside for longer than 15 mins without spraying. If paint drys inside your gun it can ruin it.*
2. Spraying your paint:
After you have sprayed two coats of primer on both sides of the doors/drawers/bases, and let dry for 24hrs, its time to spray the paint. If you are doing two toned cabinets like I did make sure you have your top and bottom doors/drawers separated- since they will be two different colors.
I started with spraying the top doors/drawer/bases white. I did not thin the paint like I did the primer. I added the paint to my sprayer, adjusted the knob, and practiced on my spare cabinet door until I got the finish I wanted. I sprayed the first coat of paint onto my door fronts. I also sprayed the first coat of paint onto my top cabinet bases. I moved the doors to my drying rack, cleaned my sprayer and switched to the grey paint, and moved my bottom door/drawers to the painting table. I then sprayed my bottom door/drawers with their first coat of grey paint. I also sprayed the first coat of grey onto my bottom cabinets bases. I let everything dry for 24 hrs. Then applied the second coat of paint doing the same process. The bases are done, but you still have the backs of the doors/drawers. Again I let everything dry for 24 hrs.
After the second coat dried for 24 hrs I flipped the doors/drawers over and repeated the process for the backs - two coats of paint on the backs letting them dry 24 hrs between coats. And you are done spraying- FINALLY! With this particular paint there is no need to apply a topcoat. The paint cures to an enamel like hard finish.


I actually went on a mini vacay for 6 days letting the paint just sit and cure for a week before putting them back up on the bases. But you still want to be very careful while putting them back up because with this paint it actually doesn't reach its full cure/hardness for 30 or more days.
3. Putting everything back up:
For this step you will be happy you placed all your hardware in labeled bags. We applied the hinges to the door side first. Then held them up and screwed them to the bases. This is a two person job. One holds the doors while the other screws the hinges back into place on the bases. Remember you want to be very careful not to ding or scratch the paint. It still isn't fully cured at this point. It take 30-60 days for the paint to 100% completely cure. I will be giving a full review on the durability in another part of the series- since I'm past the full cure point.
After you have everything back up you can add your knobs/pulls or hardware of your choice.
Here is the hardware I went with:
- Satin Bar Pulls - CLICK HERE
- Satin Cup Pulls - CLICK HERE


And after all that your kitchen cabinets are like new! Seriously I CAN NOT believe the difference it made in my kitchen. I will be sharing all the other little projects we did in here next in this series. Including adding molding to our soffit, backsplash, and custom hood above our microwave. So be on the watch for that.

As always thank you so much for stopping by today and reading my blog. I hope this blog series will help inspire others who too do not love their kitchen cabinets. And if I can do this you can too! Be sure to follow me over on FACEBOOK and INSTAGRAM for more behind the scenes of this little business I call life. OHH and PINTEREST for even more inspo.
With love,

*This post was not sponsored or endorsed by any of the products I used. Post may contain affiliate links, but as always all words, reviews and opinions are by yours truly.