• HOME
  • Blog
  • Home for Sale
    • Shop My Home
  • ABOUT
  • Contact
Menu

Plum Pretty Decor & Design Co.

Street Address
City, State, Zip
336-534-0905
Plum Pretty Decor & Design Co.

Your Custom Text Here

Plum Pretty Decor & Design Co.

  • HOME
  • Blog
  • Home for Sale
  • Shop
    • Shop My Home
  • ABOUT
  • Contact

Easy DIY Shiplap Headboard with FREE Building Plans

January 24, 2017 Kayla Miller
DIY Shiplap Headboard- Shiplap Bed Building Plans for FREE- By Plum Pretty Decor and Design

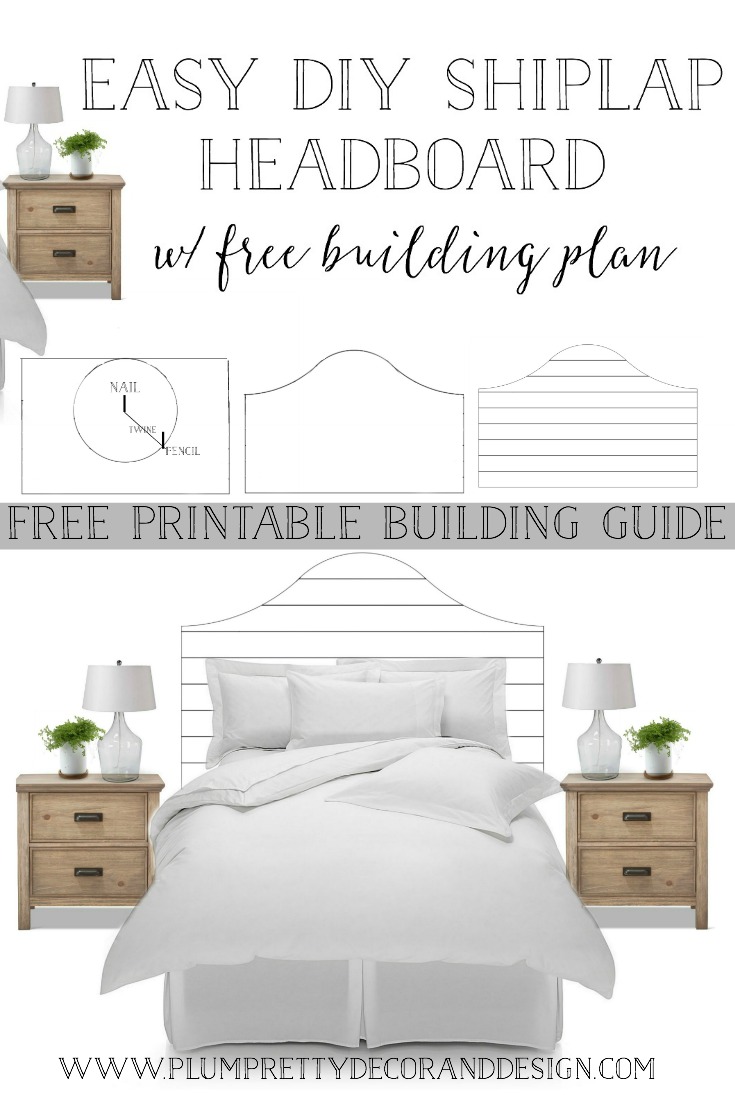
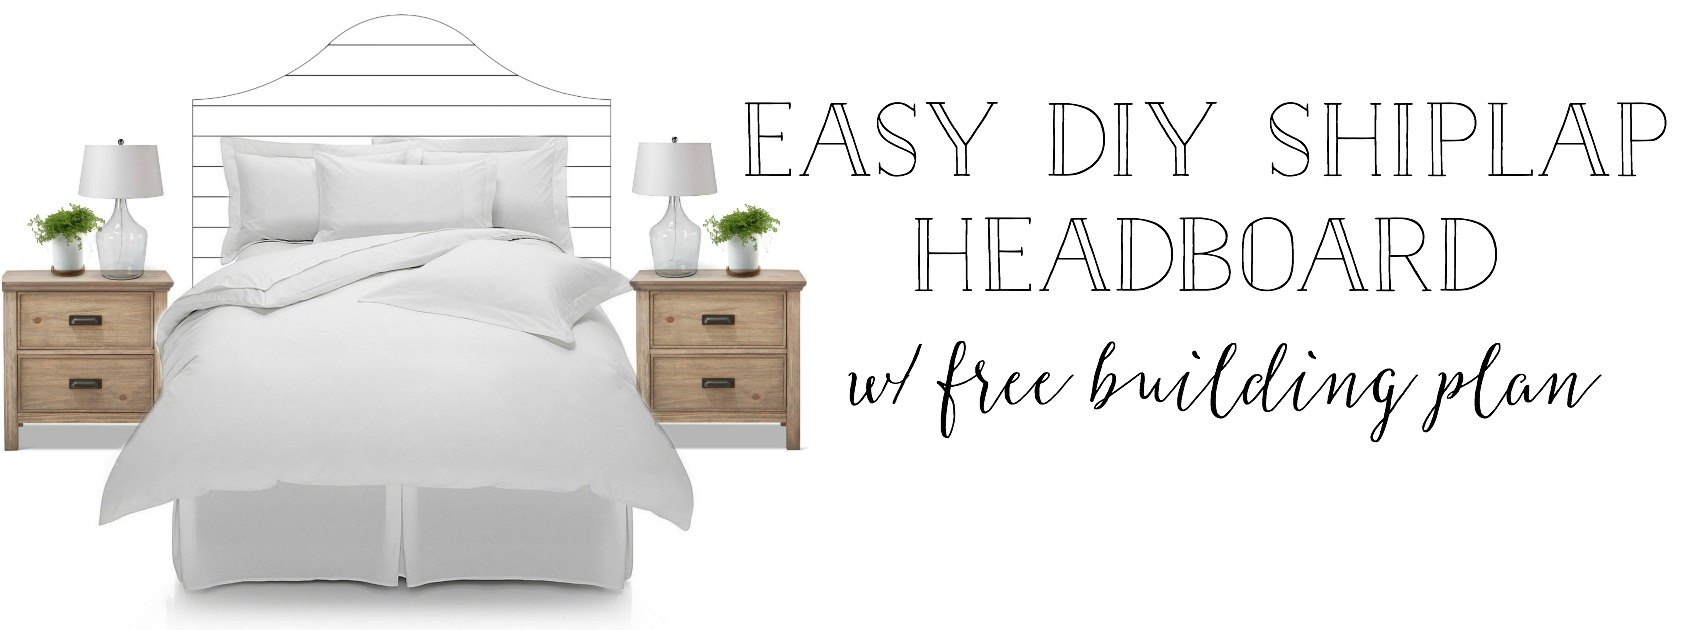
I had a client searching for a DIY shiplap headboard tutorial so her dad could easily build the headboard for our interior design project. I searched the internet knowing I could find a tutorial for her to give to her father... Well I was wrong! No where did I find a tutorial that fit her desired shiplap bed. So I created my own building plans for her, and decided to share for all the others out there in this DIY community, that too thought they could find a DIY shiplap headboard tutorial. 

I have not physically completed this project (YET) I'm just providing the plans for doing so. But I have a feeling one of these headboards just might make its way into my guest bedroom. Once I make a DIY shiplap headboard I will update the post with progression pictures. 


DIY SHIPLAP HEADBOARD BUILDING PLANS:


Description: Plans for a king size shiplap headboard

Tools Needed:

  • Jig Saw
  • Skill saw
  • Finish Nailer
  • Measuring Tape
  • Marking Pencil 
  • 1/16 tile spacers 
  • Twine and nail

Materials:

  • (9) 1"x6"x8' Pine Board - $7.79 each 
  • (1) 4'x8'  1/4 Piece of Plywood - $17.48
  • Liquid Nails or Construction Adhesive 
  • 1.5" Finish Nails
  • 1" Wood Screws

Estimated Cost: Less than $100

Directions: 

1. Cut the plywood to size. You want your plywood to be 48" x 80". The 4 foot side will be fine but you will have to cut the 8' side down to 80". Measure over to 80", mark with your pencil, and cut using your skill saw. 

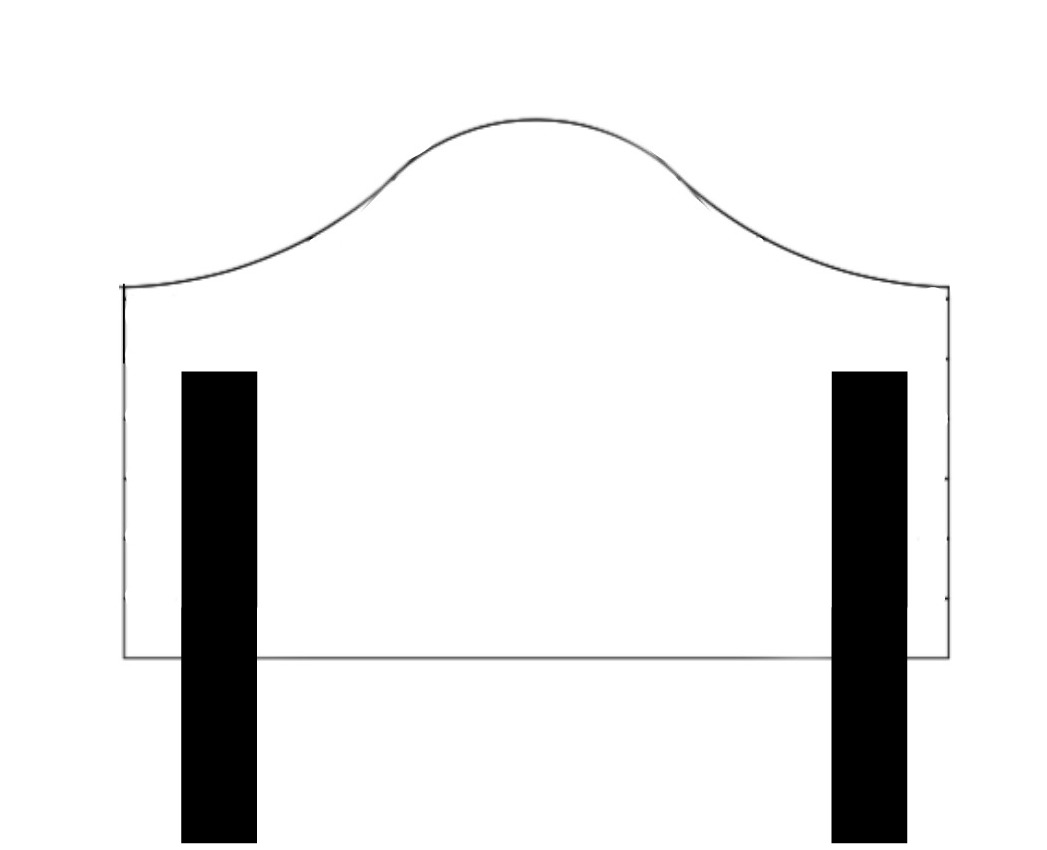
2. Now you need to cut the arched area on the piece of plywood. To get a precise arch you can use the nail and twine method.

Here's how:

1. First measure over 40" and mark.

2. From that mark measure down 20" and place your nail.

3. Using a piece of twine and your pencil, attach the twine to the nail and your pencil with a 20" gap between the two.

4. Now stretch out the twine and mark your circle. Creating a circle with a 40" diameter.

DIY Shiplap Headboard- Full Building Plans by Plum Pretty Decor and Design

5. Next create a pivot point with a board. Meaning use a stationary point that can not move (a clamped board) and place your nail in. This time using a piece of twin and your pencil, attach the twine to the nail and your pencil with a 40" gap between the two. 

6. Stretch the twine out, line it up with the edge of the center circle and mark your circle. Do this on both sides creating two arches on each side of the center circle. 

DIY Shiplap Headboard Bed- How to Draw Your Arches- Plum Pretty Decor and Design

3. Now that you have your arch area drawn out cut along the the lines with the Jig Saw. 

DIY Shiplap Headboard Bed- Plywood Template Piece- Complete Building Plans by Plum Pretty Decor and Design

4. Next Step is attaching your 1"x6"x8' Pine Boards to the plywood. Start at the bottom and work your way all the way to the top with 9 boards. Between each board us a 1/16 tile spacer for even spacing. Apply Liquid Nail or construction adhesive to the back of each board and tack it up the the fish nailer to keep them in place. Once you get all the boards nailed on, turn it over and use wood screws the properly secure the boards to the piece of plywood. 

DIY Shiplap Headboard Bed- Complete Building Plans and How To Information

5. Turn the headboard over with the plywood facing up. Using the Jig saw cut the boards at the top following along the arched template of the plywood. Use the edge of the plywood as your guide. 

DIY Shiplap Headboard Bed Tutorial- Complete Building Plans- By Plum Pretty Decor and Design

6. Sand the edges of the boards for a smooth finish then paint your desired color. I recommend Alabaster White by Sherwin Williams for a white farmhouse look.

7. You can either attach hangers for hanging on the wall (you will need to anchor into the wall due to the weight), or you can attach legs to the bottom so it will have support from the floor. I recommend using a 2"x6" for this. Just attach to the back of the plywood a few inches in on each side. The height of the boards will depend on your bed frame, box spring and mattress. You want the bottom of the headboard to rest and few inches below the top of your mattress. Paint the legs with the same color as the headboard *Remember to paint the sides- so you don't have any wood showing. 

DIY Shiplap Headboard Bed Tutorial- Complete Building Plans by Plum Pretty Decor and Design

Click {HERE} for a FREE DIY Shiplap Headboard Building Guide Printable


Once completed you will have a shiplap bed that is Fixer Upper worthy- just like you have seen Joanna herself design. 
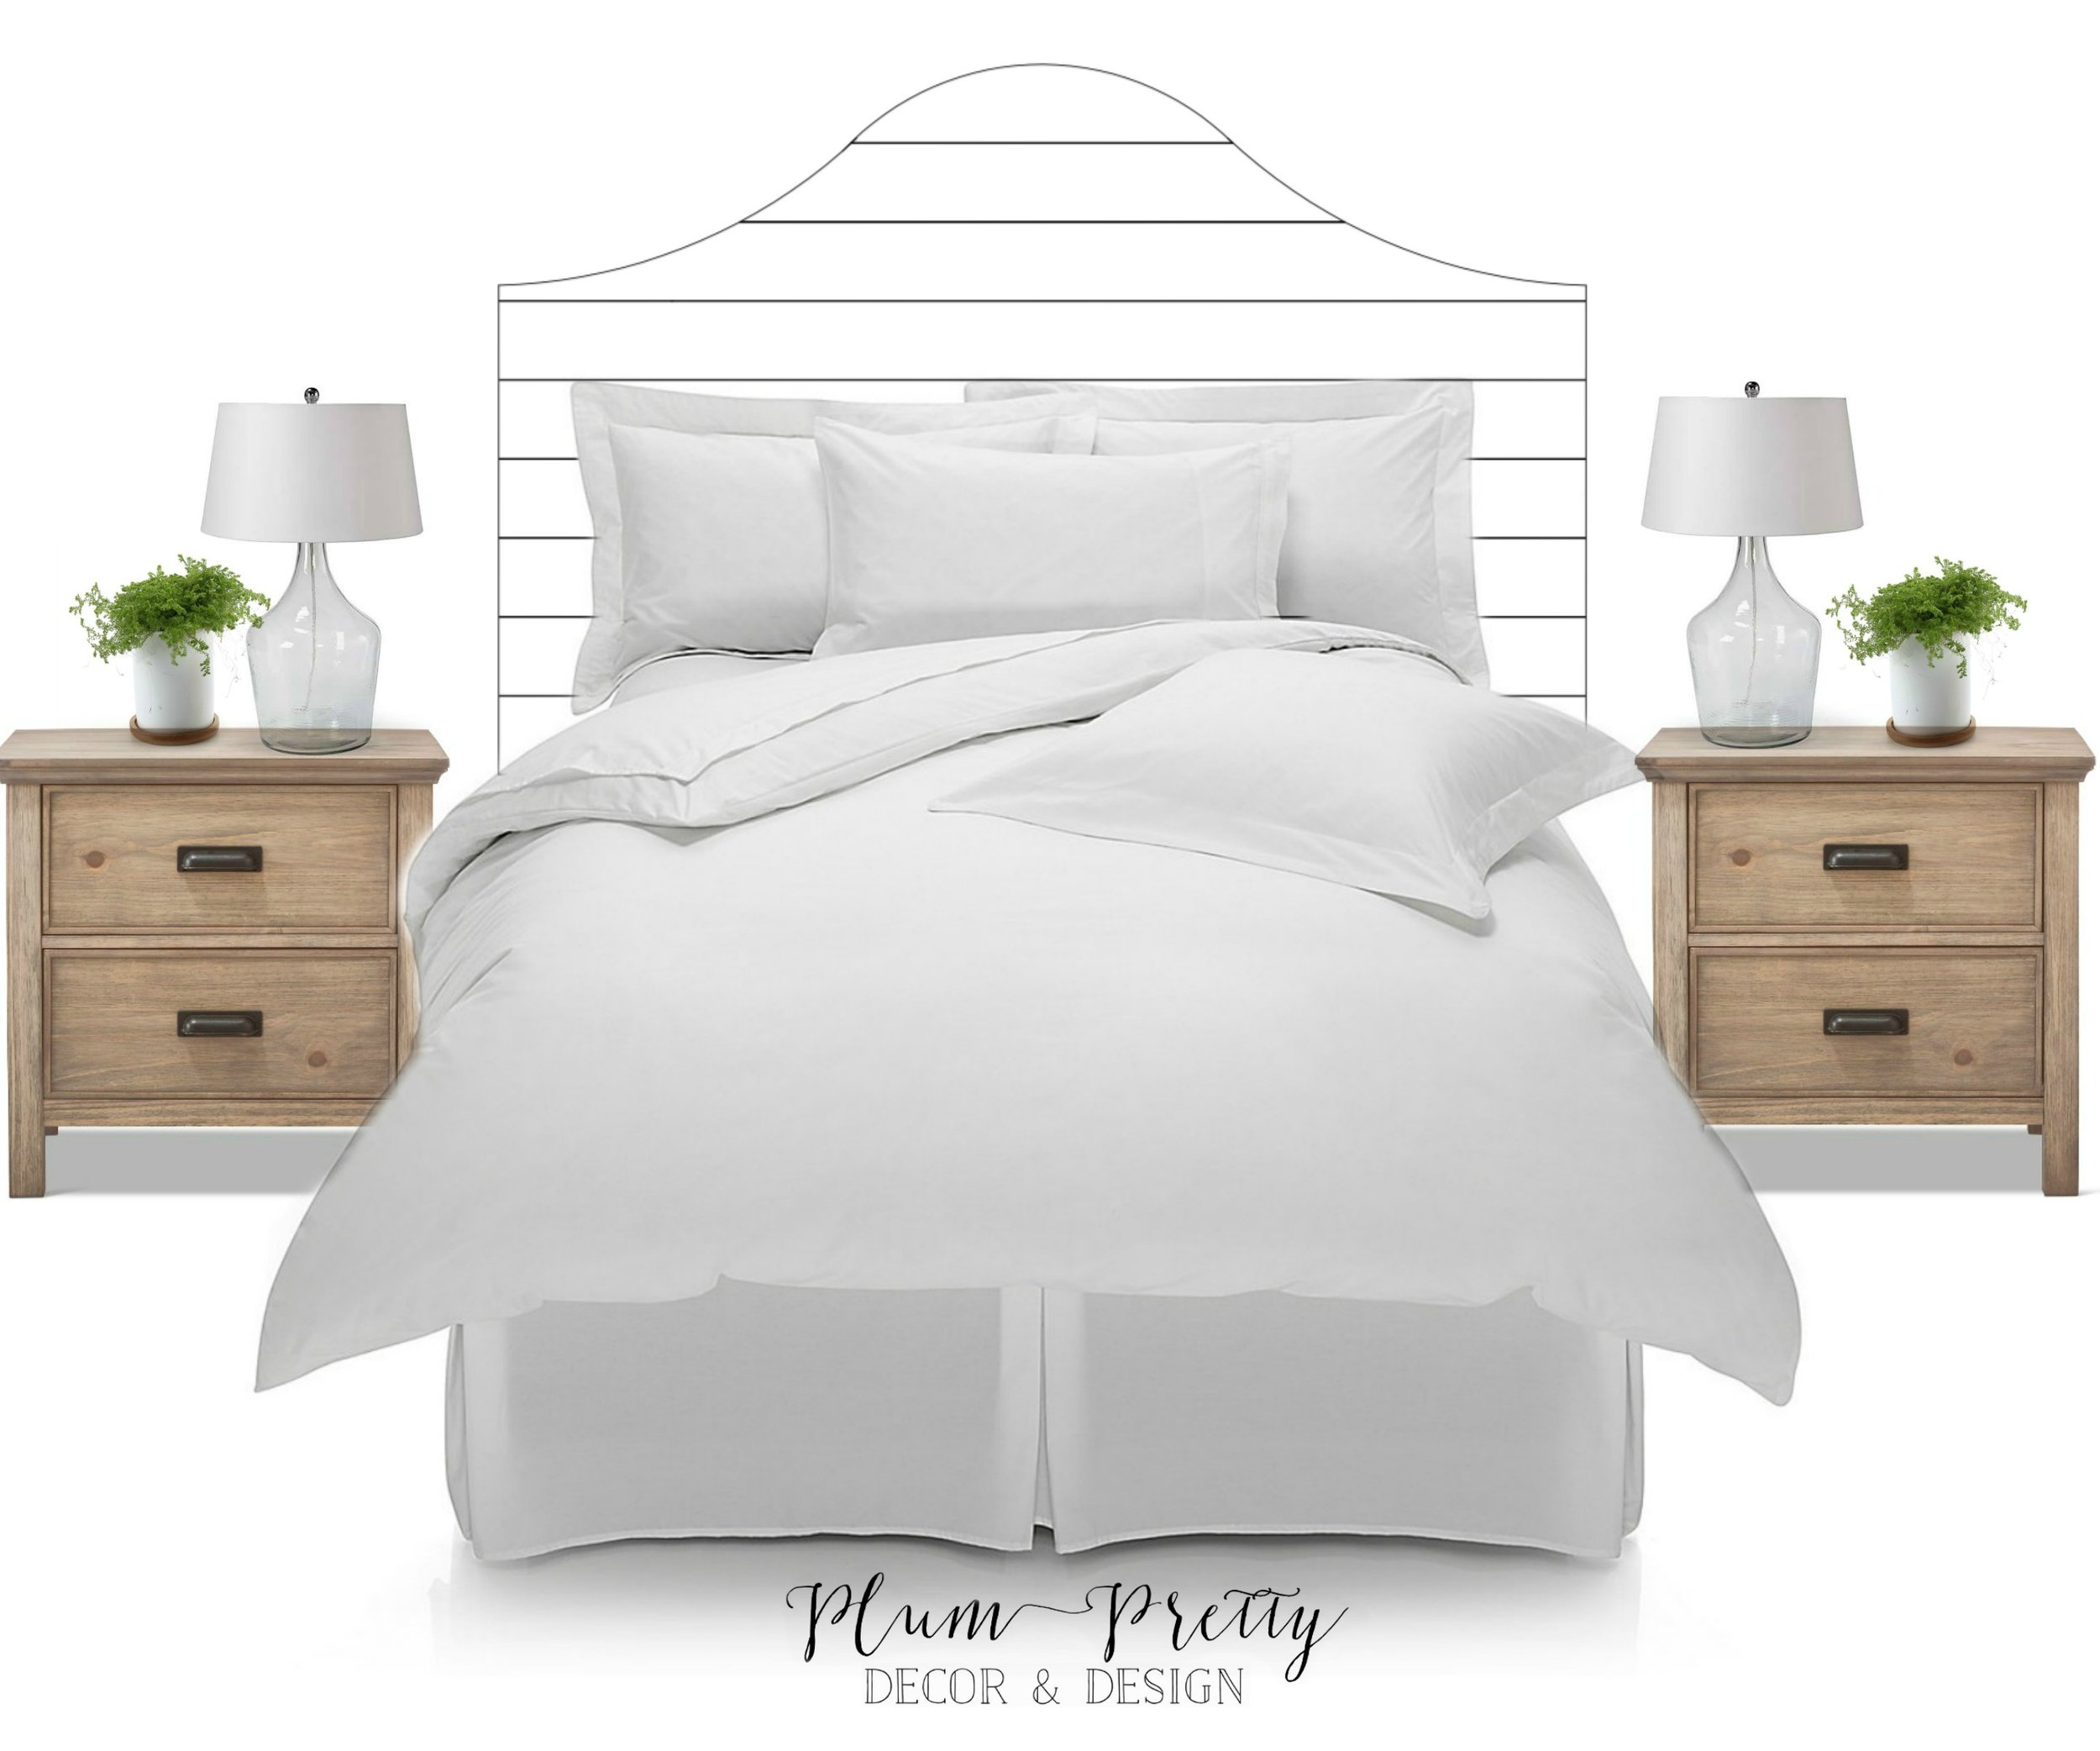
DIY Shiplap Headboard Bed Tutorial- A Complete How To Building Guide- By Plum Pretty Decor and Design
  • Lamps: {Click HERE}
  • Lamp Shades: {Click HERE}
  • Nightstands: {Click HERE}

Thank you so much for stopping by today and reading my blog. I hope this information was helpful to those of you who have been endlessly searching for a shiplap bed tutorial. I tried to include as much detail as possible without having pictures of the actual build. Can't wait to see my clients bed after her father builds it- I'm sure she will let me share. I too might be using my own tutorial to build this for our guest room. Also as always if you have any questions about anything just let me know!

Be sure to follow me over on FACEBOOK , INSTAGRAM, and PINTEREST to keep up with the latest from me. 

With love,

 
Signature
 
 
Easy DIY Shiplap Headboard Bed Tutorial with FREE Printable Building Guide- See more by clicking and visiting Plum Pretty Decor and Design's Blog
 
In DIY Tags Shiplap, Headboard, DIY, Diy Project, Shiplap Headboard, Building Plan, Shiplap Bed
← Jute Rug Review- The Ugly Truth About Jute Rugs but Why I STILL Love ThemFriday Farmhouse Finds: Affordable Farmhouse Style Lighting →
Kayla Miller of Plum Pretty Decor and Design


  • Before & After
  • Camper
  • DIY
  • Design & Decor
  • Educational
  • Pop-up Shops
  • Real Life
  • Smoothies

These cuties!! Ohh how I love them so. 
PSA- Charlotte finally destroyed the jute rug in our living room. Beyond repair this time. I could not work my weaving magic. 
Sooo I’ll be shopping for a new rug and I think I’m done with jute. The
I’m still here I promise! 2019 came with new beginnings, big changes, sickness, and a new outlook on life.
What was suppose to be a small break over the holidays turned into a month of silence on here...
So here’s why- 2019 started out wi
Trimming the tree with @Joann_stores! I shared all my tips for styling a modern neutral Christmas tree today over on the blog. 🎄
*(Click the link in my profile and scroll down to “recent blog post” to read.)
I also included a tutorial on
“We see a day when all dogs are safe, secure, cared for, fed well, and LOVED.” - PEDIGREE Foundation Vision Statement. 
You guys already know how much our pups mean to us! Our wish this is that all dogs feel this same LOVE! Because every
Charlotte has something to tell you-The DIY Felt Leaf Garland tutorial is now directly on my blog! 
After so many messages from people saying they couldn’t access the tutorial from my last post I just made the garland tutorial it’s very o
“Santa baby, slip some BONA under the tree for me. Been an awful good girl.”
Today on the blog I shared my newest secret weapon for cleaning my floors by @bonafloorcare. You guys know how much I LOVE my Bona and this might be my favorite
I’m back after a week long social media break. I took a few days after Thanksgivings to truly be present. I sat my phone down and lived. Well and I had no cell service Thursday-Sunday #campervaca. 
Y’all the “social media” lif
Simple, cozy, and Charlotte approved! 
I had so much fun creating this look with @Joann_stores. You see that garland?! It’s felt and I did a full tutorial on how to make it. You see those gorgeous stockings?! I made them from craft stockings an
Our Christmas front porch! 🌲
Even though I got poison ivy all over my hands from the garland it was so worth it.
This is the first year I’ve been excited about decorating our tinie winie front porch and I owe it all to our @simpsondoorco door.
Another favorite view from last Christmas...
Last year it was all about fresh greens. This year.... I need to figure that out...But it’s a brewing. 
Question: Do you do an artificial tree or a real tree?? 🌲We do both but just curious. .
.
.
#c
These cuties!! Ohh how I love them so. 
PSA- Charlotte finally destroyed the jute rug in our living room. Beyond repair this time. I could not work my weaving magic. 
Sooo I’ll be shopping for a new rug and I think I’m done with jute. The I’m still here I promise! 2019 came with new beginnings, big changes, sickness, and a new outlook on life.
What was suppose to be a small break over the holidays turned into a month of silence on here...
So here’s why- 2019 started out wi Trimming the tree with @Joann_stores! I shared all my tips for styling a modern neutral Christmas tree today over on the blog. 🎄
*(Click the link in my profile and scroll down to “recent blog post” to read.)
I also included a tutorial on “We see a day when all dogs are safe, secure, cared for, fed well, and LOVED.” - PEDIGREE Foundation Vision Statement. 
You guys already know how much our pups mean to us! Our wish this is that all dogs feel this same LOVE! Because every Charlotte has something to tell you-The DIY Felt Leaf Garland tutorial is now directly on my blog! 
After so many messages from people saying they couldn’t access the tutorial from my last post I just made the garland tutorial it’s very o “Santa baby, slip some BONA under the tree for me. Been an awful good girl.”
Today on the blog I shared my newest secret weapon for cleaning my floors by @bonafloorcare. You guys know how much I LOVE my Bona and this might be my favorite I’m back after a week long social media break. I took a few days after Thanksgivings to truly be present. I sat my phone down and lived. Well and I had no cell service Thursday-Sunday #campervaca. 
Y’all the “social media” lif Simple, cozy, and Charlotte approved! 
I had so much fun creating this look with @Joann_stores. You see that garland?! It’s felt and I did a full tutorial on how to make it. You see those gorgeous stockings?! I made them from craft stockings an Our Christmas front porch! 🌲
Even though I got poison ivy all over my hands from the garland it was so worth it.
This is the first year I’ve been excited about decorating our tinie winie front porch and I owe it all to our @simpsondoorco door. Another favorite view from last Christmas...
Last year it was all about fresh greens. This year.... I need to figure that out...But it’s a brewing. 
Question: Do you do an artificial tree or a real tree?? 🌲We do both but just curious. .
.
.
#c

News Letter

Sign up with your email address to receive news and updates.

We respect your privacy.

Thank you!

Click {HERE} to learn to build your own shiplap bed

Click {HERE} to learn to build your own shiplap bed


Plum Pretty Decor & Design
by Kayla Miller

Mission: to inspire others to have a loving, purposeful, functional, and beautiful home.

Contact

Kayla Miller                                             336.534.0905 Plumprettydecoranddesign@gmail.com

Follow


Home
About
Shop
Blog
MyHome
Design
Contact

Terms & Conditions | Privacy Policy | Disclosure Policy |  Online Products Policy

©Copyright 2017 Plum Pretty Decor & Design. Website designed by Kayla Miller