

Bet you guys thought the "How I painted my kitchen cabinets series" was never going to come. Didn't ya? How long ago did I paint them?! A little over two months ago. Well I guess that gives me a great opportunity to add a post about how they are holding up, and my opinion on painting cabinets. But todays post is all about the materials and the prep. I decided to break the whole kitchen cabinet painting process into a series. Because if not it would have been one REALLY LONG post. And I wanted to thoroughly explain each step, educating you on why I did it the way I did, and why I choose the products I did.

Many of you, I'm sure if your reading this post, are thinking about painting your kitchen cabinets. Here's why I painted my "pretty much brand new" kitchen cabinets. When we bought our house the kitchen had just been remodeled. So for three years I lived with kitchen cabinets I did not love. Simply because in my mind- people only paint tired/worn out kitchen cabinets. Not ones that are brand new. Unless it's a new build and they are unfinished new cabinets. I also thought that by painting them I would lessen the resale value of my home.
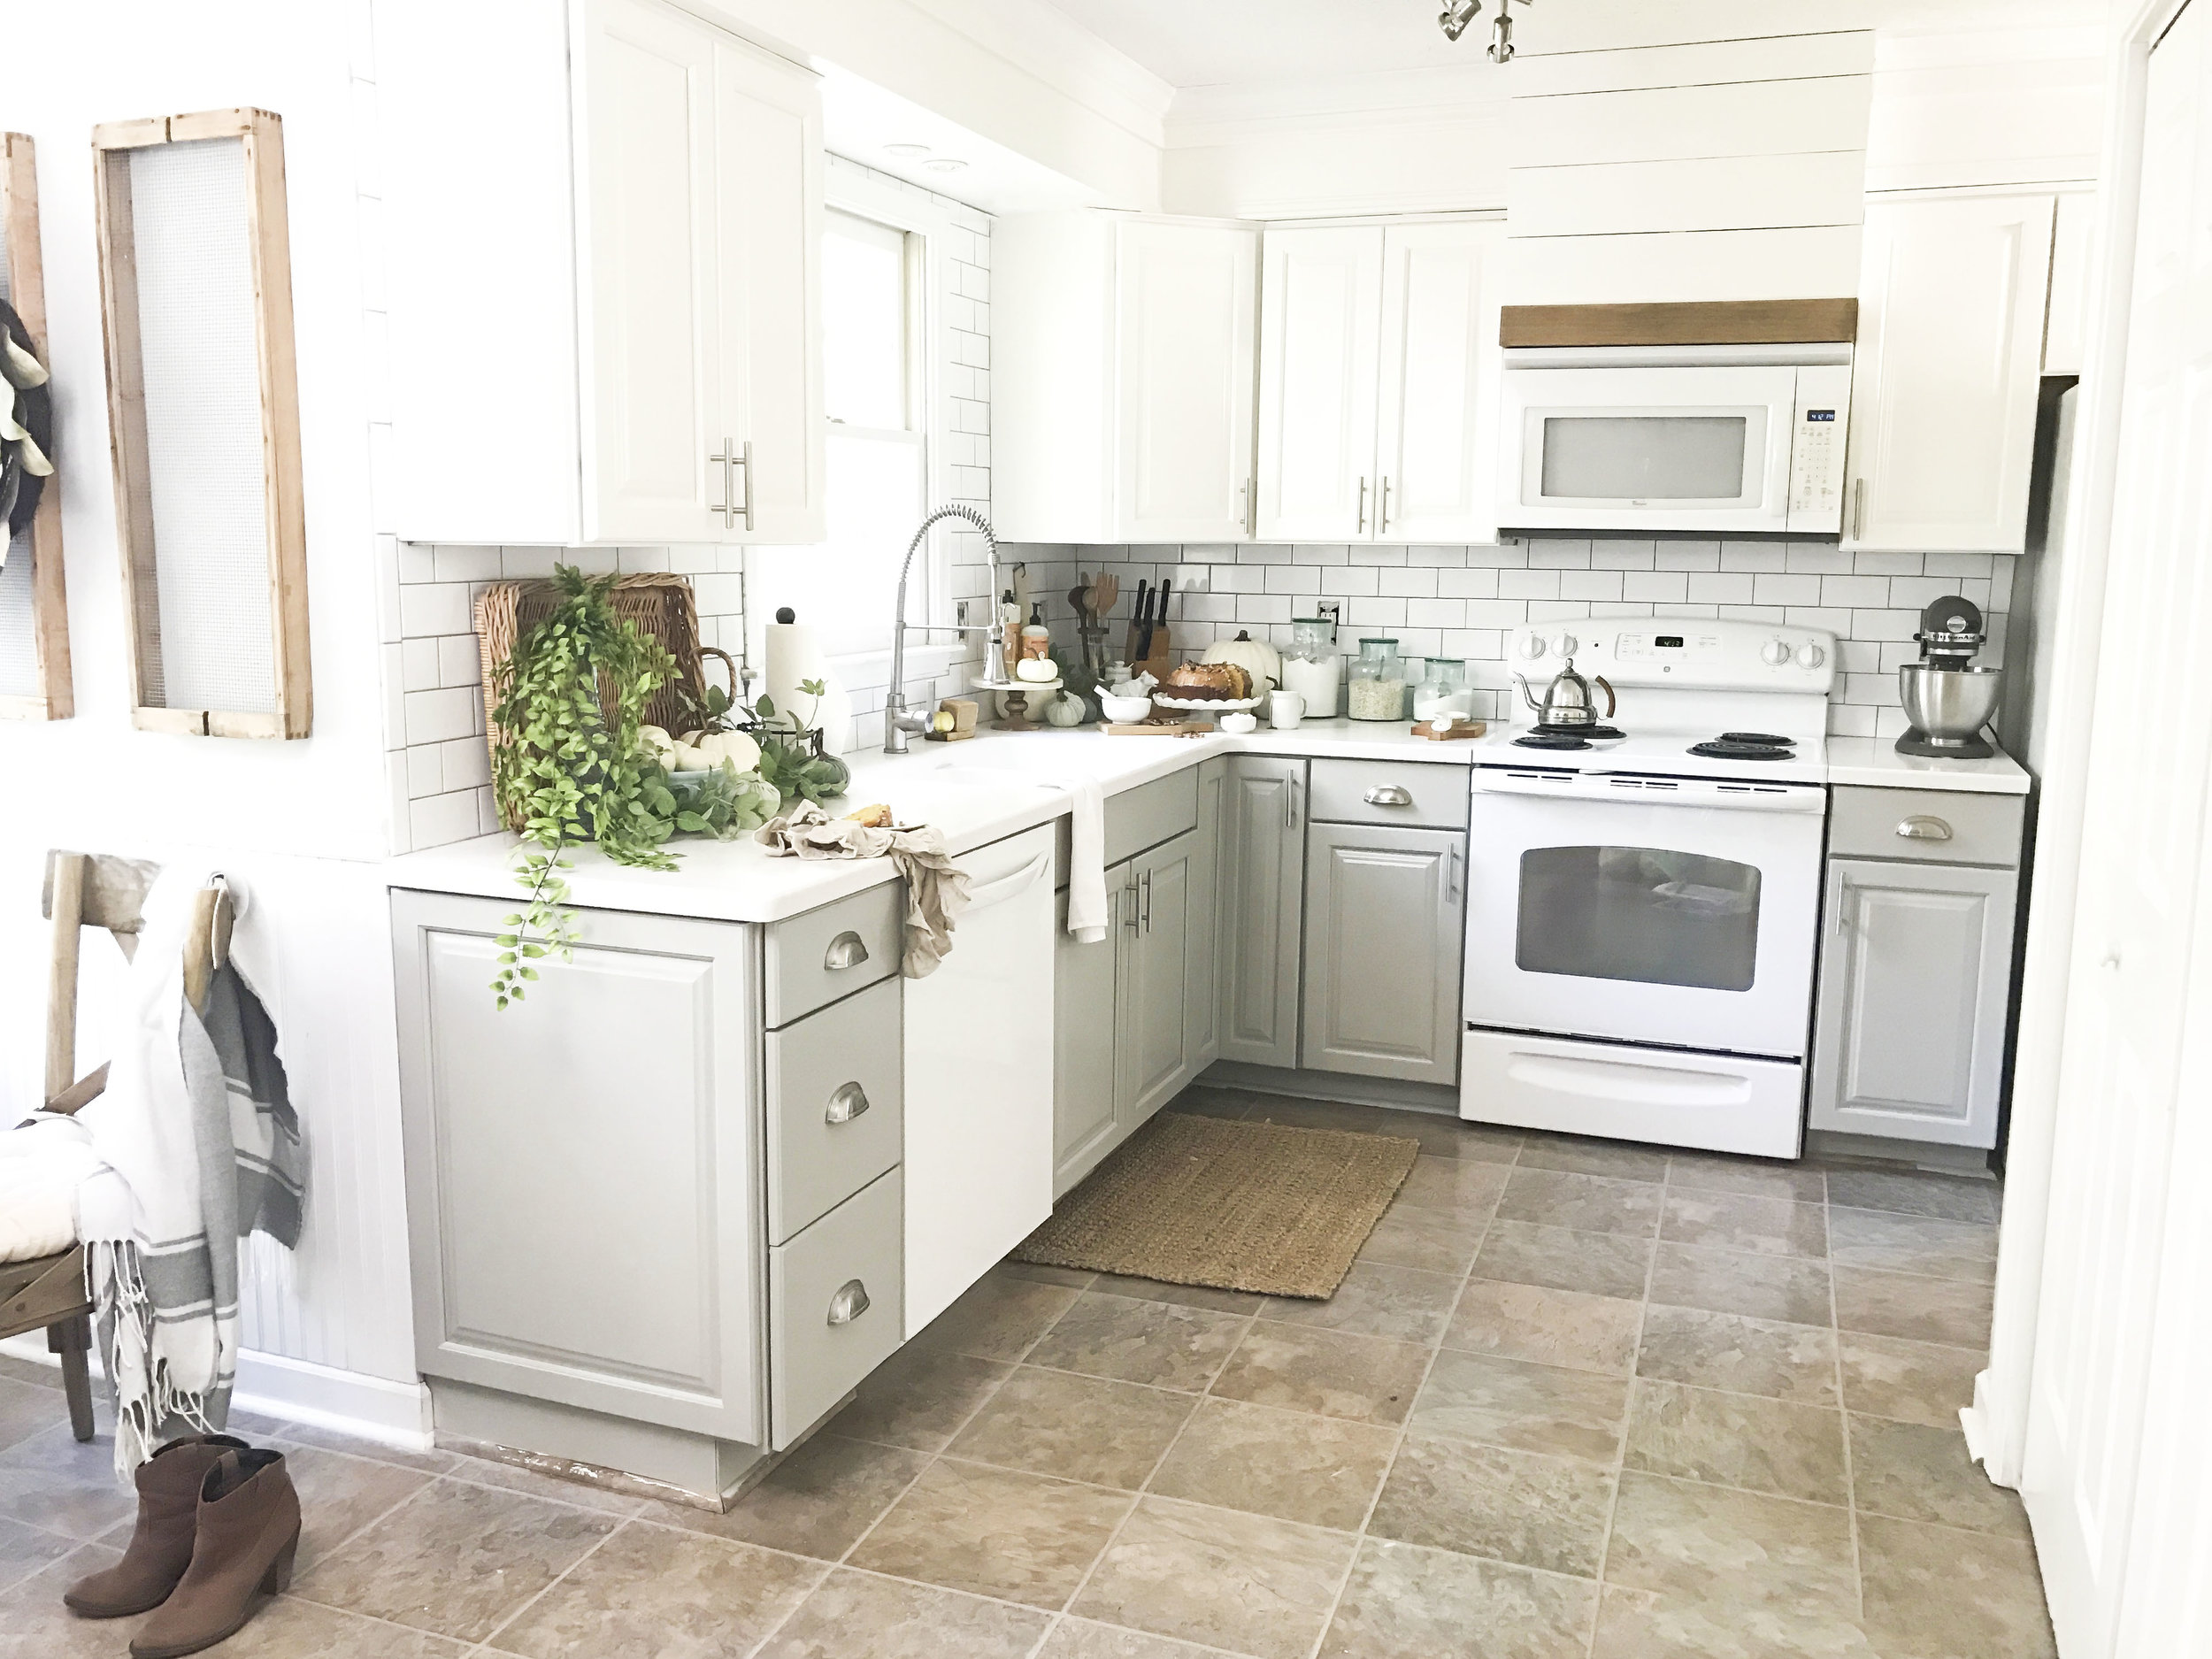
So here was my final deciding point. I did not love my kitchen, and it did not match all the other home improvements we had done to the rest of the house. If anything the kitchen was now lessening our home value, because it looked dated compare to the rest of the home. So after three years of living with a kitchen I didn't love- I designed one I did, on a budget I could afford.
MATERIALS
I researched my materials for months. I bet I read 10000000 different paint reviews for painting cabinets and woodwork. But does that mean that I have the science of painting kitchen cabinets down to a "t." Most definitely not. But here are the materials I used and why.
*The materials and process for your particular cabinets may be different depending on the material, condition, and finish of your personal cabinets. I started with pre-finished solid wood cabinets doors that were pretty much brand new- like I mentioned before the individuals we bought our house from had just redid the kitchen prior to selling.
Paint & Primer:
- Primer: Benjamin Moore Stix Primer - CLICK HERE
- Paint: Benjamin Moore Advance Interior Paint in a Satin Finish - CLICK HERE


I choose this primer because it is a high quality, waterborne, acrylic urethane primer/sealer that adheres to almost any surface. The paint is a water reducible alkyd, meaning you get the durability of a oil based paint, without the mess of oil paint, and in a finish of your choice. I choose the satin finish for its low sheen and its wipeable durability. I also choose this paint for its extended open time. Meaning it is made to dry slower to allow it to auto level. So once you brush or spray on the paint the open time allows the paint to auto level- giving you a nice factory finish with no brush marks, orange peel, or spray lines. Yes, it takes longer to dry but the results are so worth it!
Sprayer:
- HomeRight Finish Max Sprayer - CLICK HERE


I choose this sprayer for its "fine finish" ability and because it is extremely user friendly. Even for first time sprayers! This was my first time spraying cabinets and this sprayer worked beyond my expectations. The guy I use for cabinetry for my design business could not believe the finish I got from this small hand held sprayer. I do recommend having a "practice" piece of wood. I had a extra cabinet door the previous homeowners had left behind in the garage. Which was great, because I got to practice and get my settings right while practicing on a piece with the same finish as my actual cabinets BEFORE I painted my actual cabinets. This allows you to thin materials correctly and adjust settings until you get the perfect finish for your project. Here is a great video about using this sprayer- CLICK HERE. I feel like he does a great overall review.
Cabinet Cleaning Prep Materials:
- TSP Trisodium Phosphate - CLICK HERE
- Scrubby Pad - CLICK HERE
- Easy Liquid Sander Deglosser - CLICK HERE
- Lint Free Cloths
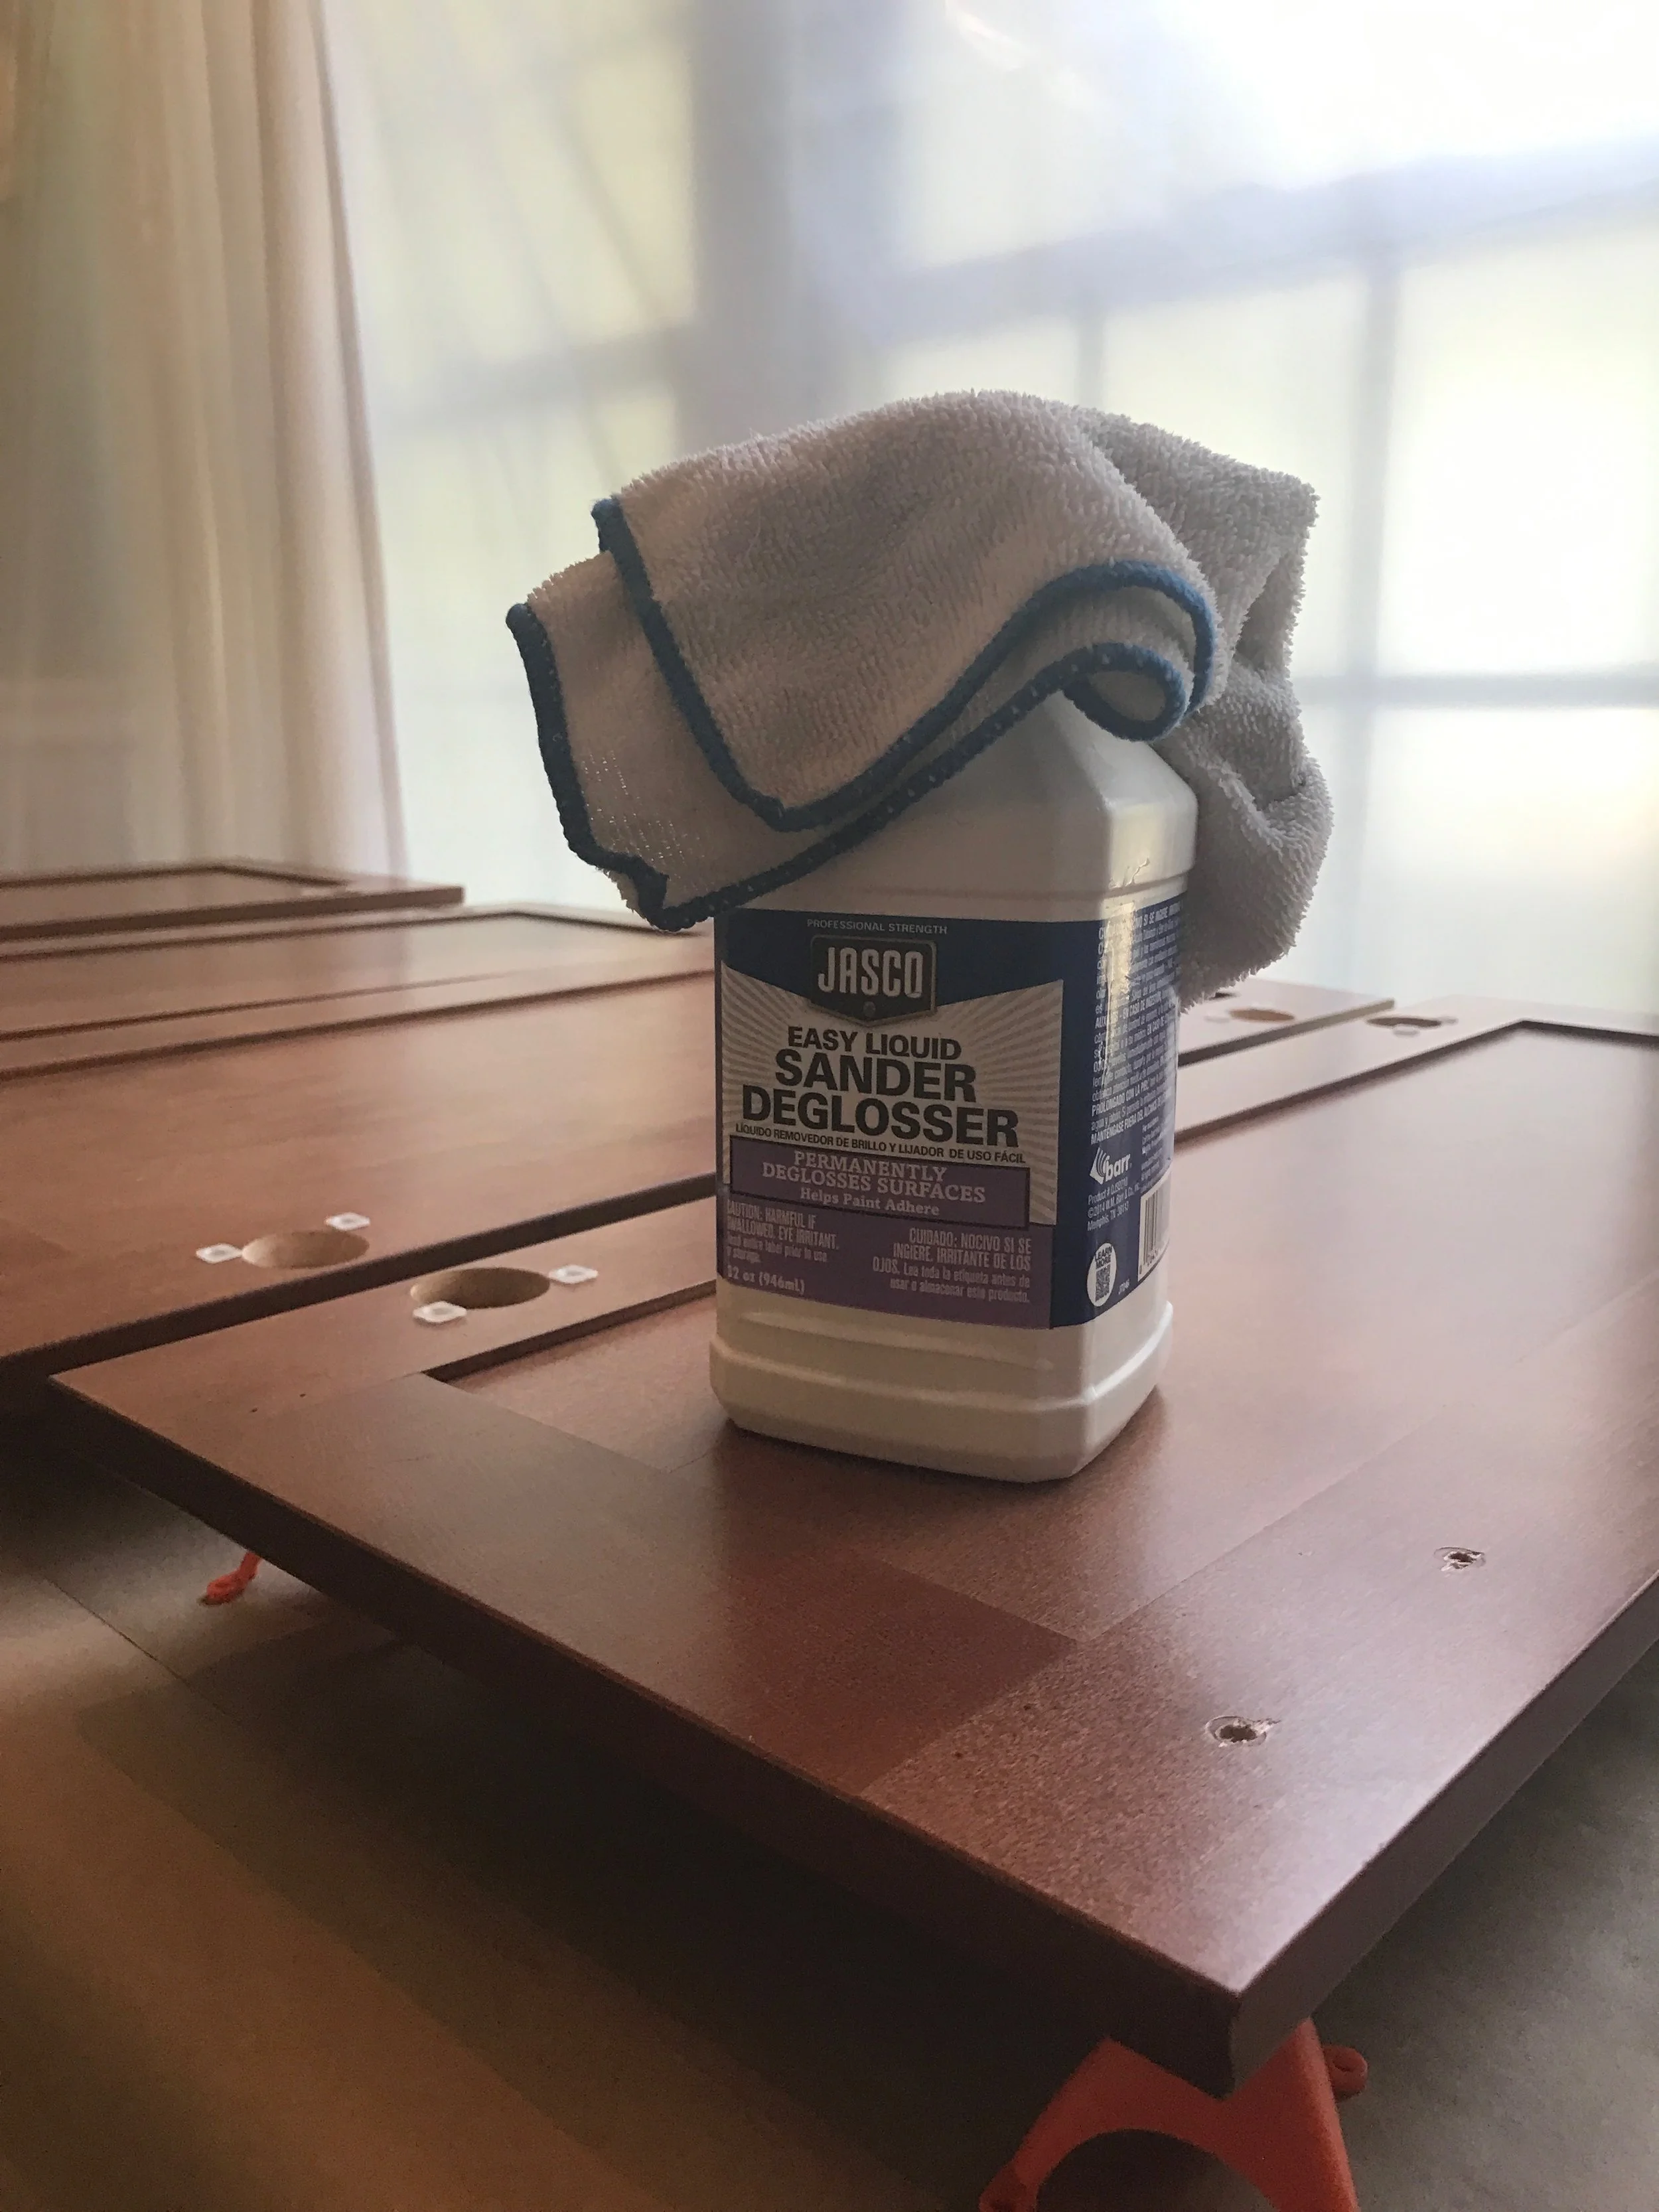

I choose this material to clean the cabinets prior to painting because the TSP removes all the dirty grim and build up. And the Liquid Sander and Deglosser prevents you from having to hand sand all the cabinets. It helps provide a better surface for the paint to adhere.
Prep Area Materials:
- Plastic Drop Cloth - CLICK HERE
- Painters Tape - CLICK HERE
- Paper Drop Cloth in varying sizes - CLICK HERE
- Tape & Drape - CLICK HERE
- Painters Tripods - CLICK HERE
- Painters Mask - CLICK HERE

PREP
- Remove your cabinet hardware, doors, and drawers. Placing all the hardware in plastic bags labeled with whats inside. You will be glad you did this step when you go to put everything back on.
- If you are changing hardware, and need to putty holes, this is when you want to do that. Also sand any imperfections or nicks in your door and cabinets.
- Clean your cabinet door and bases. It's actually kind of gross just how dirty our kitchen cabinets get. They collect oils and buildup from cooking. You want to make sure all that is off before you start painting. Mix your TSP cleaner by the directions on the box. Take and scrub your cabinets down with the scrub pad and TSP- I did mine twice just in case. Take a cloth and clean water and rinse the cabinet then dry.
- Taping it all up.
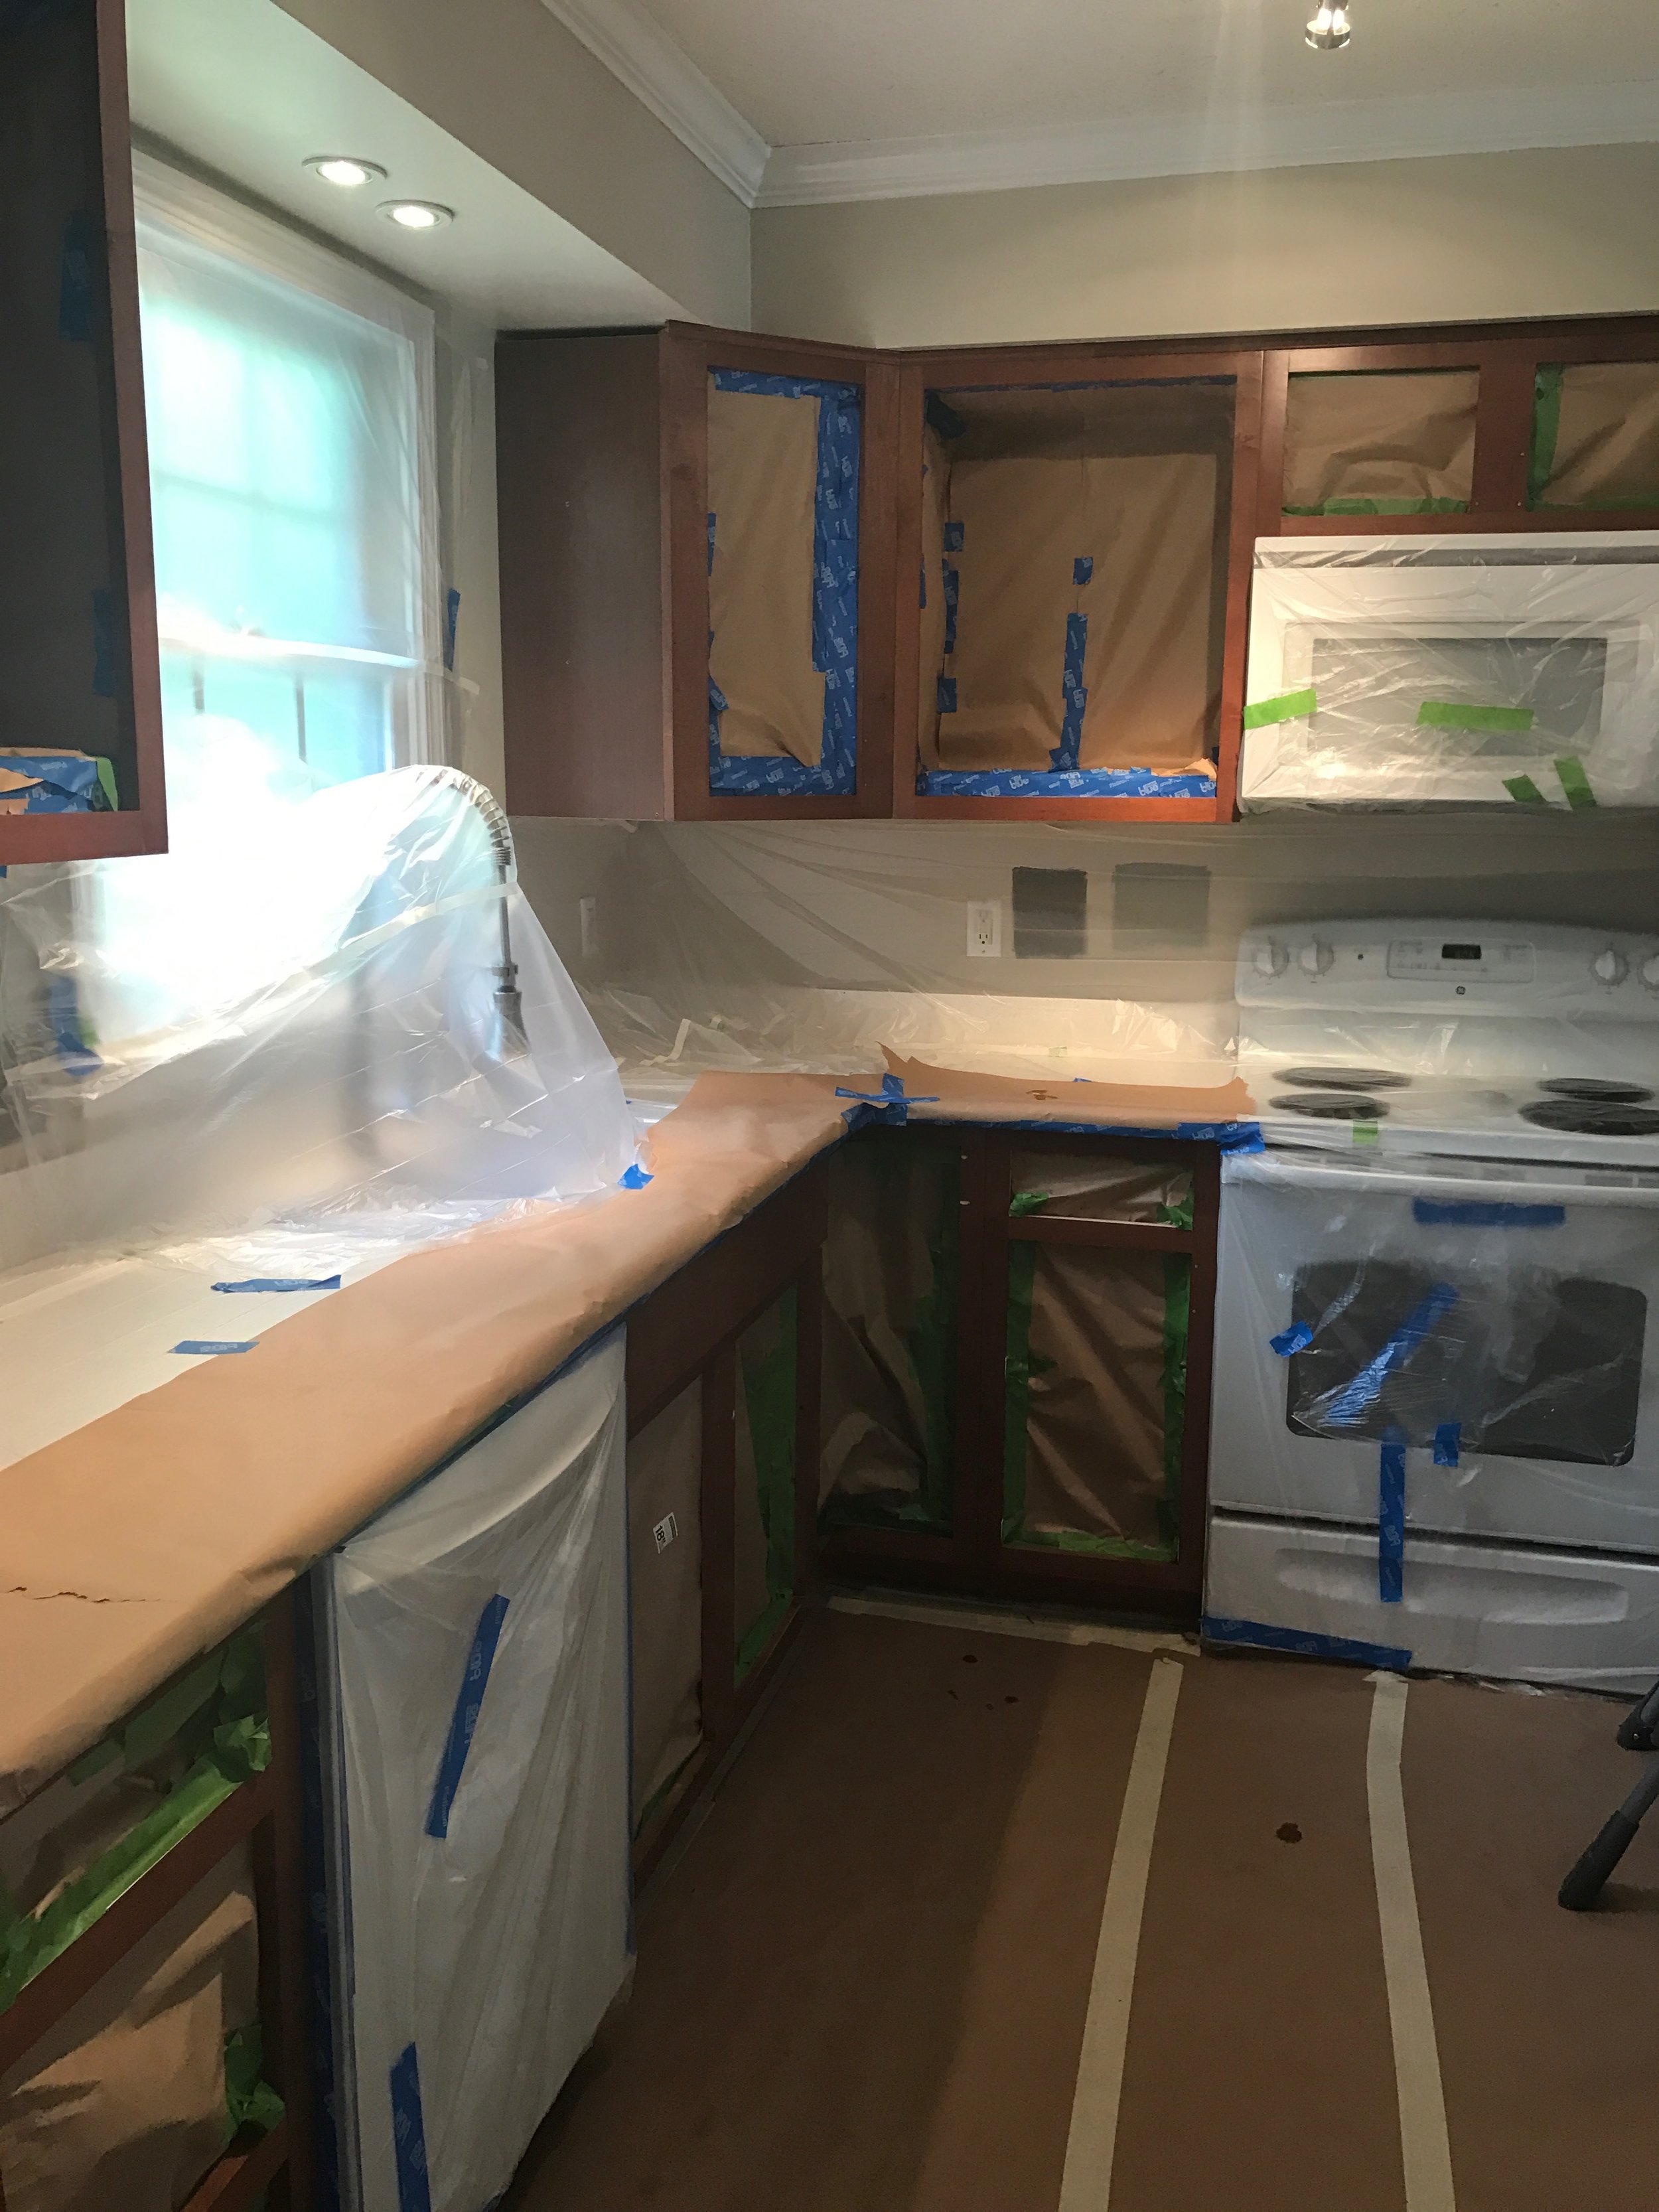
If you happen to follow along with me in Instagram and watch my stories you might remember how my prep work for painting my kitchen cabinets kind of looked like a scene out of the tv series Dexter. Minus the murders and the blood. So here is why I went what many would call overboard on my prep work. It took me a good portion of a day to tape up and prep the area.
I choose to set my paint booth up INSIDE my house. Mostly because that's the only place I could. My sweet dear husband forbid me to take over the garage in fear that all his prized possessions might get a nice coat of white paint. And I'll admit I probably wouldn't have been as detailed and thorough on the plastic draping if I had painted them in the garage. But I wasn't having a single bit of over spray on my dark hardwood floors or my linen sofas. So crime scene, plastic draping, using 500 thousand rolls of painted tape it was. (For less prep work you can set up a paint booth in your garage or basement and hand paint you bases. Or they make these awesome spray booths - CLICK HERE).
Which brings me to my second reason for crime scene tape up- I wanted to spray my bases. I wanted my cabinets to look 100% factory finished. This added a whole lot of work, because I had to tape up the insides of my cabinet bases. If your not as worried about your bases as I was, you can roll them and it's a lot less work. And other people have got amazing finishes doing so. I was just stubborn and wanted to be all professional.
I honestly don't have much advise or even a tutorial on how to tape up your crime scene. Other than just keep draping plastic and taping every seam until everything is covered. Tape it to your ceiling, your walls, and even the floor. No seam to be left untaped. Also a good tip is to over lap an area for your "door." That way you have an entrance and exit to your work area. Ohh and your going to need a lot of tape.
*Plan out your "Spray center." I had a table set up (bottom left pic) to spray then a "drying rack" for them to dry (bottom right pic). For my drying rack I used two wood saw horses, some boards, and lined the boards with paper drop cloth.


And after all that your are ready to PAINT! That part of the series will come next week.
As always thank you so much for stopping by today and reading my blog. I hope this blog series will help inspire others who too do not love their kitchen cabinets. And if I can do this you can too! Be sure to follow me over on FACEBOOK and INSTAGRAM for more behind the scenes of this little business I call life. OHH and PINTEREST for even more inspo.
With love,

Click the picute below for PART 2!

*This post was not sponsored or endorsed by any of the products I used. Post may contain affiliate links, but as always all words, reviews and opinions are by yours truly.